Point Cloud to BIM, Explained
Share this article


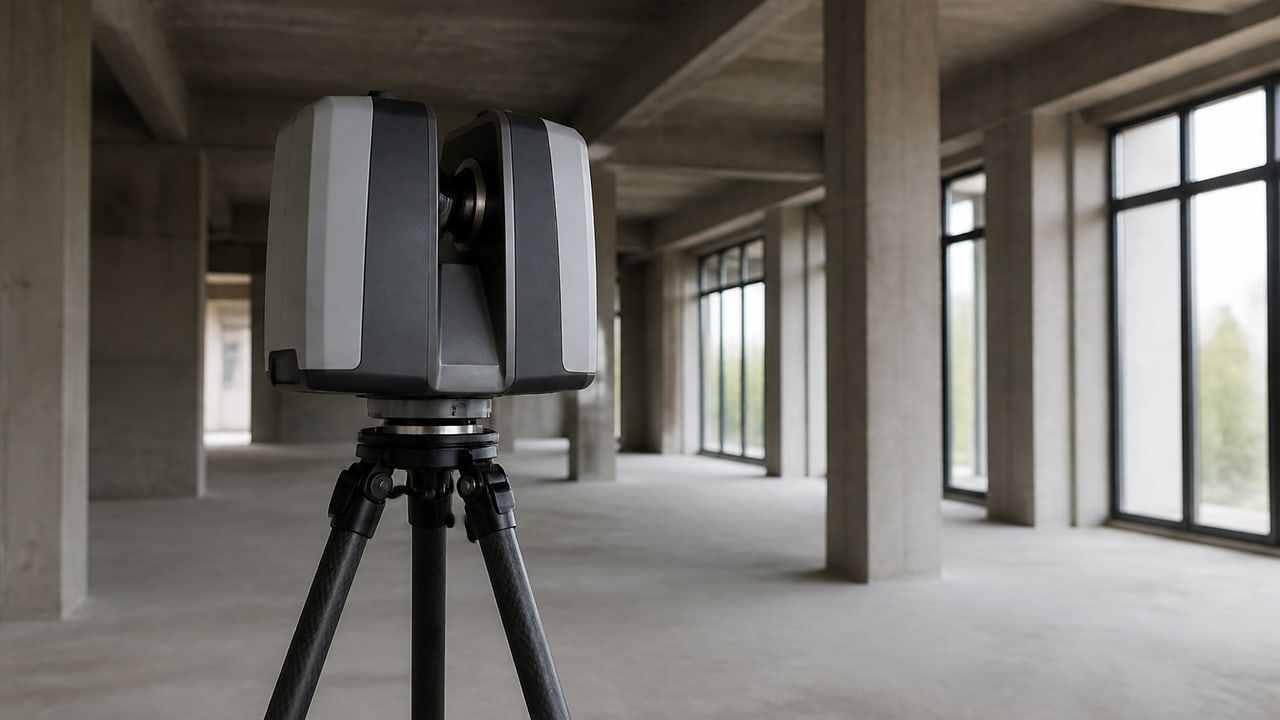
Point cloud to BIM (scan-to-BIM) explained, how a laser scan becomes an accurate as-built Revit model, the LOD choices, and when firms use it in 2026.
Point cloud to BIM, also called scan-to-BIM, turns a laser scan of an existing building into an accurate 3D BIM model. A scanner captures millions of measured points; a modeler converts that point cloud into intelligent Revit geometry you can renovate, document, or coordinate against.
A point cloud is the raw output of a laser scanner or photogrammetry: a dense set of 3D points, each with a real coordinate, that together form a measured picture of what actually exists. On its own it’s just points, the value comes from converting it into modeled walls, floors, and systems. Autodesk supports linking point-cloud data (RCP/RCS formats) directly into Revit to model from, which is why scan-to-BIM has become a standard as-built workflow.
How the Scan-to-BIM Process Works
The conversion runs in a predictable sequence:
- Scan. A laser scanner captures the space from multiple positions.
- Register. The individual scans are aligned into one unified point cloud.
- Import. The registered cloud is linked into Revit as a coordinate reference.
- Model. A modeler builds intelligent BIM geometry to match the scan.
- QA. The model is checked back against the cloud for deviation and completeness.
Levels of Detail: What “Accurate” Means
Not every project needs the same fidelity. Level of Development (LOD) defines how detailed the model is, and how much it costs to produce:
| LOD | What you get | Good for |
|---|---|---|
| LOD 200 | Approximate geometry, generic elements | Early planning, feasibility |
| LOD 300 | Accurate geometry, correct dimensions | Renovation and documentation |
| LOD 350 | LOD 300 + interfaces between systems | Coordination and clash detection |
Specifying the LOD up front is the single best way to avoid paying for detail you don’t need, or discovering you’re missing detail you do.
When Firms Use Scan-to-BIM
Scan-to-BIM earns its cost whenever accurate existing conditions matter:
- Renovations and additions, where field dimensions rarely match old drawings.
- As-built documentation for facilities that never had a model.
- Historic and heritage work, where every irregularity counts.
- Coordination on complex sites, where a wrong assumption becomes an RFI.
What Scan-to-BIM Looks Like in a Workflow
The scanning hardware keeps getting faster and the modeling keeps getting smarter. In 2026, AI-assisted tools help classify point clouds and rough-in repetitive elements, so modelers spend their time on judgment, tolerances, ambiguous conditions, LOD decisions, rather than tracing. The model still needs a skilled human to be trustworthy; the automation just removes the drudgery.
Scan-to-BIM vs. a Traditional Measured Survey
A traditional measured survey captures selected dimensions by hand, fast and cheap, but only as complete as what someone thought to measure. A laser scan captures everything at once, so the model isn’t limited by on-site guesswork and can be re-interrogated later without a second visit. For anything beyond a simple room, scan-to-BIM removes the “we didn’t measure that” surprise that turns into a field RFI.
A Quick Example: Where Scan-to-BIM Pays for Itself
A firm takes on a 1970s building renovation with original drawings that no longer match reality, walls moved, ceilings dropped, decades of undocumented changes. Modeling from those old drawings would bake every error into the new design. A single day of scanning produces a point cloud the team models to LOD 300, so the renovation is designed against the building that exists, not the one on paper. The scan cost is trivial next to one avoided round of demolition-phase RFIs.
Final Takeaway
- Point cloud to BIM converts a laser scan into an accurate as-built model.
- The process runs scan → register → import → model → QA.
- Specify the LOD up front, it decides both accuracy and cost.
- It’s the go-to workflow for renovations, as-builts, and heritage projects.
Turn Your Scans Into Models You Can Build From
Accurate as-builts start with an accurate modeler. If you have scan data waiting to become usable BIM, see how WorldTeams staffs BIM modelers.
- point cloud to BIM
- scan to BIM
- as-built models
Frequently asked questions
Answers to the questions readers ask most about point cloud to BIM.
How much does point cloud to BIM cost?
Cost is driven by three things: the size and complexity of the space, the level of detail (LOD) you specify, and how much of the building has to be modeled versus referenced. Setting a clear LOD and scope up front is the biggest lever, it prevents paying for detail the project will never use.
What is a point cloud?
A point cloud is a dense collection of 3D points captured by a laser scanner or photogrammetry, each with a real-world coordinate. Together the points form an accurate, measurable representation of an existing space, the raw material for a scan-to-BIM model.
Is scan-to-BIM the same as point cloud to BIM?
Yes. The two terms are used interchangeably for the same process: converting laser-scan point-cloud data into an intelligent BIM model.
What LOD do I need for a renovation?
LOD 300 is the common baseline for renovation and documentation, accurate, dimensioned geometry. Step up to LOD 350 when you need to coordinate systems and run clash detection. Define it before modeling starts, since it drives both cost and timeline.
Can point cloud to BIM be done nearshore?
Yes. The scanning happens on site; the modeling is a Revit task that a skilled nearshore BIM modeler can do accurately, provided they overlap your hours and follow your LOD and template standards. The risk is never the location, it’s the modeler, which is exactly what nobody tells you about hiring remote BIM talent.